Showing posts with label Dress. Show all posts

Friday, January 25, 2013

Dresses and things from the last few months

Sadly I have neglected my blog for the last few months. It's a great record of my sewing achievements and also an excuse to take photos of Alyssa, so after a motivational boost from my Mum hopefully I'll be right onto it for the New Year.

I started a Facebook page called Liese & Alyssa. I have given a couple of dresses to my friends children and also sold a few dresses to a boutique! The lovely lady at the boutique thoroughly inspected the dresses and decided that they were up to her impeccably high standard and that she "had to have them". (A proud moment!) I also bought myself a new Bernina 530QE sewing machine, a step up from my secondhand Brother machine.

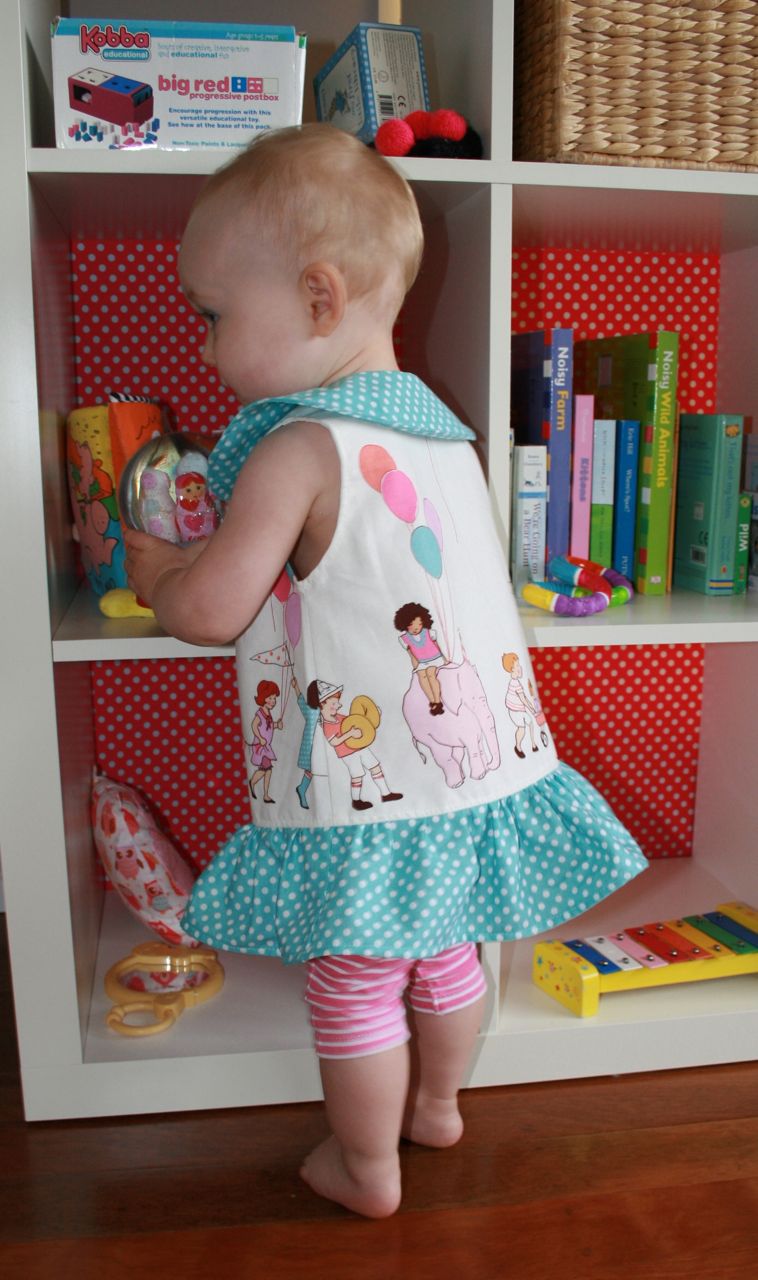
Summertime Dreaming Dress
Fabric: Children at Play by Sarah Jane for Michael Miller
Pattern: Elsie Dress by Sew Sweet Patterns


I love this dress probably because of the fabric. Alyssa has had so much wear out of it too. The pattern is so easy to make. The only tricky thing is getting the shoulder frill the same on each side. The instructions on stitching up the back seam were kinda confusing so in the end I braved it and installed a (not so) invisible zipper. 


Lucy's Parade Dress
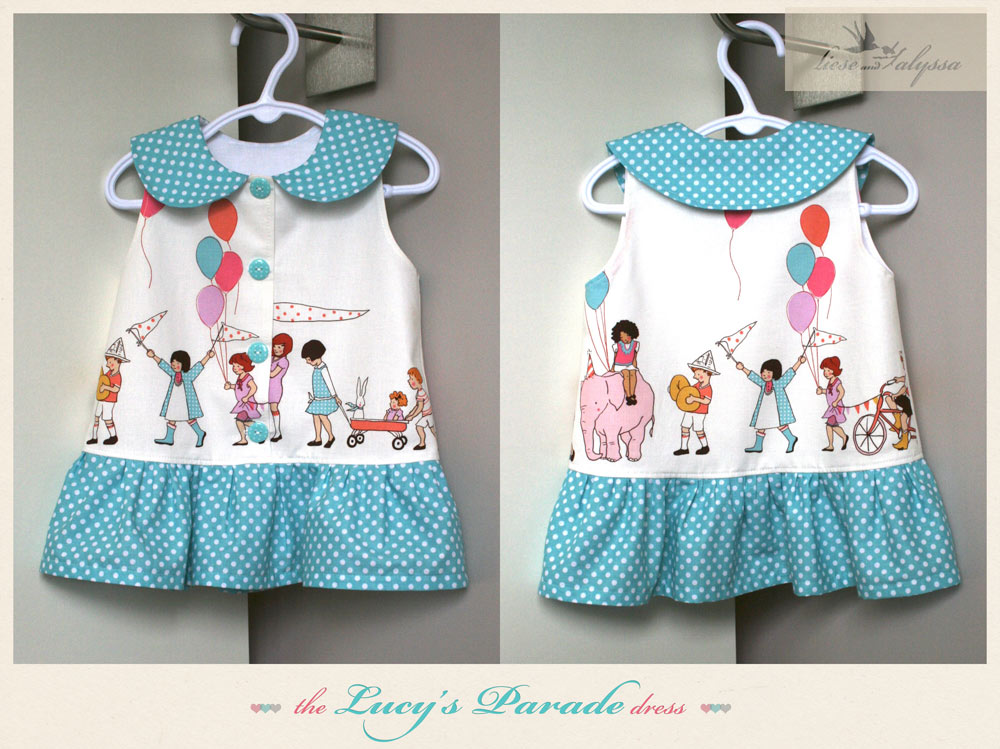


I wrote a post on this dress when I made it for Alyssa. I got a few compliments so decided to make some to sell.

I launched my Facebook page with three of these dresses for sale. Possibly I priced them too high and coupled with a tiny audience (about 30 likes) I sold none. haha. Then after admiring the dresses for a month or so and almost deciding to just keep them all my Mum made me take them into the boutique. Is is weird that I get totally sentimental and don't want to give them up?!?

The Fawn Dress
Fabric: Vine in Pink for Woodland Tails by Sheri Berry Designs
Pattern: An adaptation of the Raven Dress by Sew Sweet Patterns


I really wanted to try printing onto fabric. After some research into printing directly onto fabric and wondering how I'd fit all the fabric of a bodice through my printer without it ending in tears, I decided to try Lesley Riley's Transfer Artist Paper.

Basically you print your design onto a sheet of this paper, cut very carefully around the design and then iron it onto your fabric. I am a web designer/developer so it was easy for me to scan part of the fabric and trace around one of the animals using Photoshop.

Lesley Riley's Transfer Artist Paper is expensive so you can't really afford to have any trial and error. For a basic design with one solid colour it worked well. I wasted four sheets on a subsequent project because I wanted to attempt a much more detailed design which failed miserably. There were cracks all through it.

I like the idea of creating my own unique fabric and then using it for a little dress or onesie. I have some fabric paint to try and now just have to decide on a cool pattern.

Just Stay Little Dress
Fabric: Just Stay Little in Turquoise by Sarah Jane for Michael Miller
Pattern: burda 4082 (pretty sure this one is not available anymore)


Last year I raided my mums pattern collection. She used to sew for me so had a loads of little girls patterns.

This was my second time following a commercial pattern. For a beginner sewer they are so intimidating especially one this old (my mum would have purchased it about 25 years ago).

I made a size two so its a bit big on my model. The pattern had no seam allowances but it did provide info on what they were. However I did find that very annoying/frustrating. I had to trace over the pattern with tissue paper and then draw on the seam allowances to make sure I didn't accidentally forget while cutting it out. It seemed like there was too much fabric for the frill for the armholes (they stick out a bit) and then not enough fabric for the frill around the bodice. The frill for the bottom of the bodice was also two separate pieces and to begin with I couldn't decide if it was supposed to go right the way around, or just along the front of each side. There is also a seam down the front skirt which was supposed to be a kick-pleat, or something. My Mother in law who sews professionally was confused by the instructions for it, so together we had to improvise.

Overall I was happy I finished it. It looks terribly big on my model but will fit her eventually.

Santa sack
Pattern: The characters are from: http://blog.spoongraphics.co.uk


I wanted to make a Santa sack for Alyssa. Something that she could use year after year.
I had no pattern but wanted to make something interesting with lots characters and layers but eventually got sick of all the 'free-motion embroidery' that really wasn't so free (without the correct foot it was a nightmare!).

There is a penguin, a bird and mistletoe on the other side. It's packed away now so no more pics till next year.

My new sewing machine has a special BSR foot which is designed to regulate the stitch when free motion quilting. I wonder if it would have been useful for this project. It's still in its box. It looks very intimidating, as does the walking foot and all the buttons etc on my 'fancy' computerised sewing machine. eeek I am not allowed to say I preferred my manual machine, am I?!

Saturday, September 29, 2012

Lucy's Parade

I'm really pleased with how this little dress turned out. Alyssa loves the elephant and the kids playing. She was eager to get it on (she usually HATES getting dressed) which totally translates to a 'mummy/sewing win' right?! Oh and the collar I LOVE. I think I'm going to put collars on everything from now on. This was another Sew Sweet Pattern. I'm calling it Lucy's Parade.


Thursday, September 27, 2012

Sew Sweet Patterns Harper Reversible Dress

I purchased the Harper Reversible Dress pattern mainly because I loved the fabric they used. It's Bukhara by Dear Stella House Designer, with the main side using Suzani in Multi and reverse using Fez in Multi (I think I like the reverse better, will post some photos soon). You can see the original here. The fabric was purchased from Hawthorn Threads. It's bright, bold and is something I'd usually steer clear of. I think smaller prints suit babies and toddlers better.


The whole dress is sewn inside out, apart from the hem. This way all seams are nicely hidden - perfect if you don't have a serger or overlocker. It was a little tricky to sew the curves but going slowly helps. I didn't get one curve perfect so I just stitched over the top of the original to correct it.

I accidentally cut the front hem the smaller size 9-12 months so had to shorten the dress. I still think its too long. I love dresses that are mid thigh. They are just that bit cuter.

Her Dad said she looked like a table cloth and Uncle, "like a 70's child"...besides that nonsense we had a fun morning in the sun at Coolangatta on the Gold Coast.


Sunday, September 2, 2012

The 'Raven Dress' from Sew Sweet Patterns

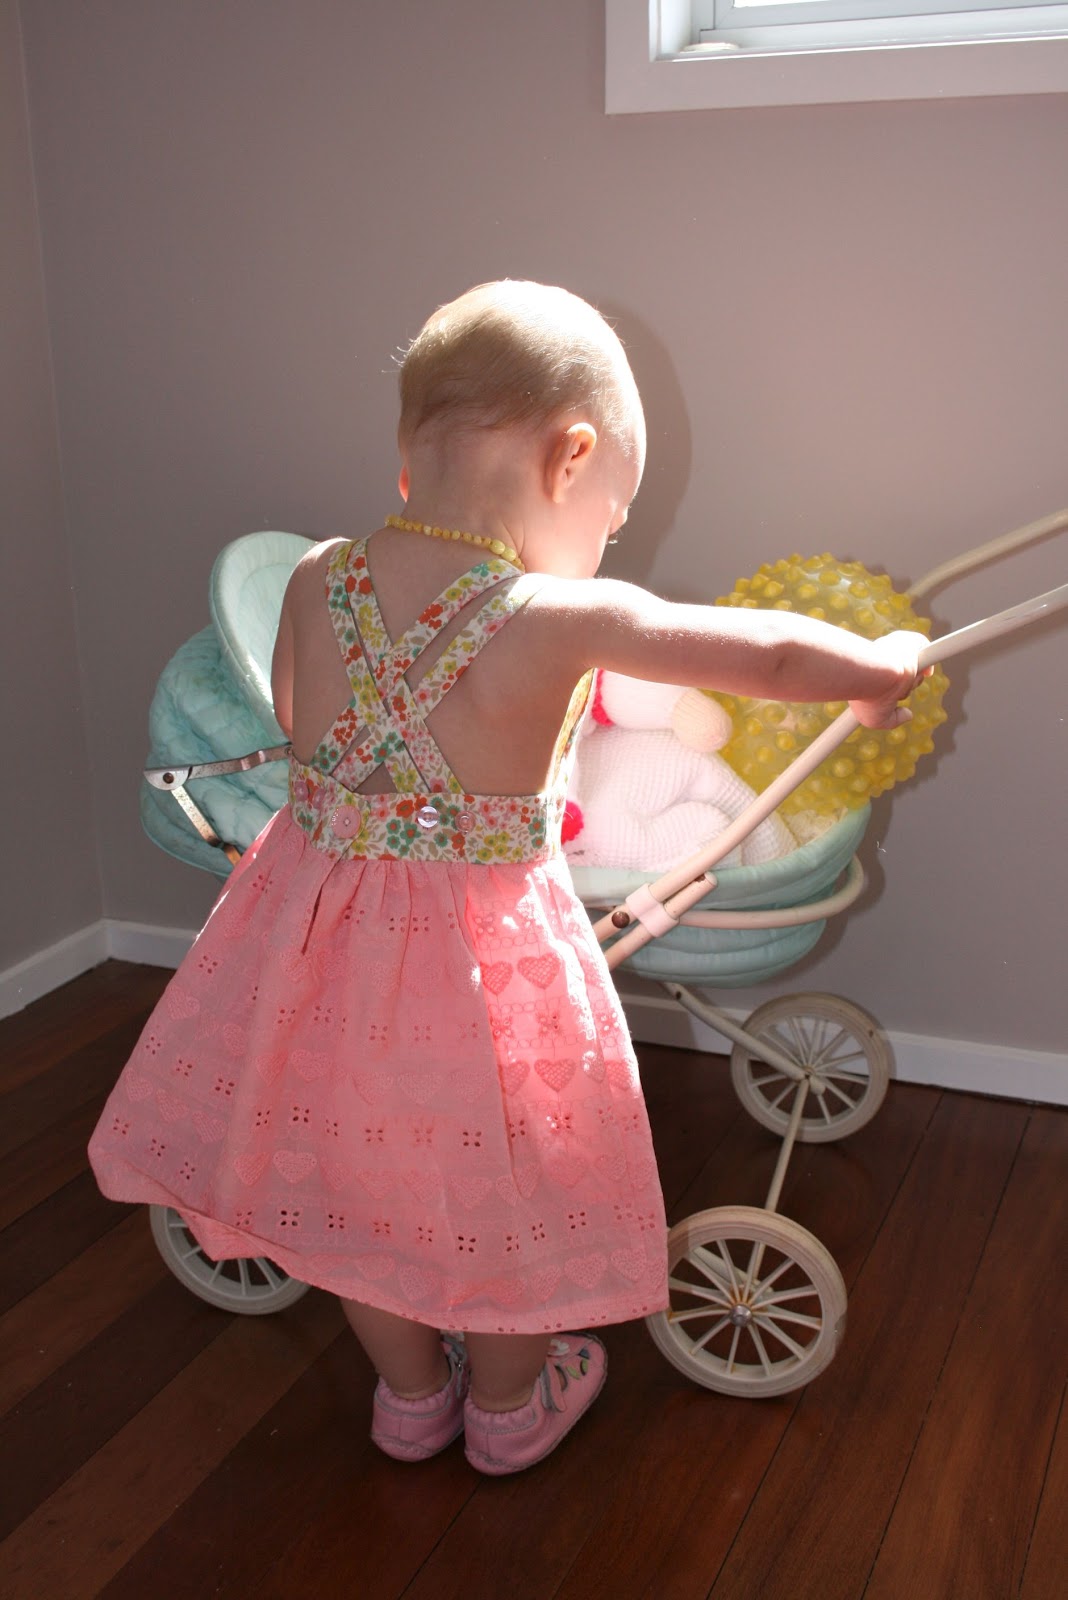
Possibly my favourite thing I have made for Alyssa so far - the Raven Dress from Sew Sweet Patterns is really simple to make if you are over your fear of buttonholes. I am, thankfully. I chose this pattern because of the back straps - they are seriously cute.

I was dying to make a little dress for Alyssa and to use the heart fabric again. I love this fabric! I used the cream version in a sunsuit here.

I included a couple of pics of the dress on the hanger. My little model has been sick for what seems like months and is in no mood for photos, also its a teeny bit big but will be perfect for her to wear in a couple of months.


Sunday, July 8, 2012

Knit dress with bib front

I enjoyed sewing 'The Katy Dress' so much that I decided to make another dress. This one was inspired by the Oobi Kitty Dress (http://oobi.com.au) and that*darn*kat's Bib Front Tee Tutorial.

I didn't have a pattern and I decided what to do as I went. I had no expectations. I used some left over material and wasn't too concerned if it all went sour.

I reused my basic pattern pieces from 'The Katy Dress' which gave me a starting point. This is a super easy quick dress to sew. I didn't hem the bottom as the knit rolls up nicely and adds to the fun.

My only regret is not taking a photo of the dress before Alyssa wore it. Her Dad and Grandad minded her for a couple of hours today. The result: a grubby baby with a couple of holes/rips in the skirt.


The Katy Dress

'The Katy Dress' was sooo super easy to make. I wanted to find a free knit dress pattern or tutorial as my girl is so close to walking and I'm desperate to get her out of tights and tees (the only thing practical for a crawler). Jessica from craftinessisnotoptional.com has step by step photo instructions on how to create this dress. The ruched/gathered sleeves add a nice detail and check out her version for the tie around the waist.


I love free patterns especially as sewing is an expensive hobby. Check out my Pinterest board: Babies & Girls Patterns & Sewing Inspiration. Most of my pins are free patterns and tutorials.

Tuesday, May 22, 2012

Dress with Embroidered Front from Girls Style Book

I found the Girls Style Book by Yoshiko Tsukiori and H.H. at our local library. It has 24 gorgeous outfits for girls and includes pattern sheets with sizes  two to 10.  I admired the book for the two week loan period and then had to return it, having made nothing. It is a bit intimidating for a learner sewer. It has step-by-step instructions but nothing like the picture-by-picture instructions I have been relying on up until now. I ended up asking for it (along with another fantastic book Growing Up Sew Liberated - also discovered at the library) for my birthday and took it to New Zealand for our four week holiday, with the intention of this time making something.

My Mother in law meet us at the airport and surprised me with a large supply of fabrics bought on her recent trip to Korea and my mum picked the most time consuming dress in the book for me to make.

I have to be honest and say that I didn't enjoy making this dress. I go so frustrated and tired and it just felt like a chore in the end. Here are a few of my experiences:
  • One sewing class to get me started resulted in terrible sewing machine envy
  • My quick unpick was my best friend - almost every seam was sewn twice. My mum inspected every step and kindly suggested I fix my mistakes
  • The fabric, beautiful and soft, was fiddly
  • The smocking incredibly time consuming and although not perfect does add a nice element to the dress
  • It took me the entire four weeks of our holiday to complete (It's still needs hemming, some flowers for the front and the hook & eye sewn on)
  • The pattern pieces don't include seam allowances. So I assumed that if I cut a size two, skipped the seam allowance, it would fit a size one to 18 months. In practise I really needed to scale it down and add the suggested seam allowances as the pieces didn't match up exactly in places
  • Mum insisted on sewing in the zip for me so I still haven't attempted one myself
All the negatives are really just my learning experiences. I am very proud of myself for not giving up. I realise too that something so time consuming to create actually looks 'expensive' and makes it just a little more special than something whipped up in an hour or so.

We cranked up the fire and Alyssa did her best to model her dress:


The Girls Style Book was purchased from Fishpond for $26. Here are a few of my favourite outfits including the one I made:


Share